Thanks to Pinterest, I've been EXTRA crafty lately (if that's even possible!).
I've been doing more than just knitting. :)
Yesterday, I thought to myself
Oh no! What are we going to use for Seth's high chair?? I really don't want to have him eat on my lap for every meal for 4 days!
Then I remembered the
Anywhere Chair I had pinned a few days ago. I quickly looked it up.
I wish we had a fabric store in town! I thought (and posted on Facebook). But I looked at the instructions and noticed there was only 1/2 yard of two fabrics (and quilt batting) needed. So I checked my box o' fabric downstairs and voila! There were two coordinating colors! The instructions seemed easy enough. I figured I could mostly finish it during Seth's morning nap!
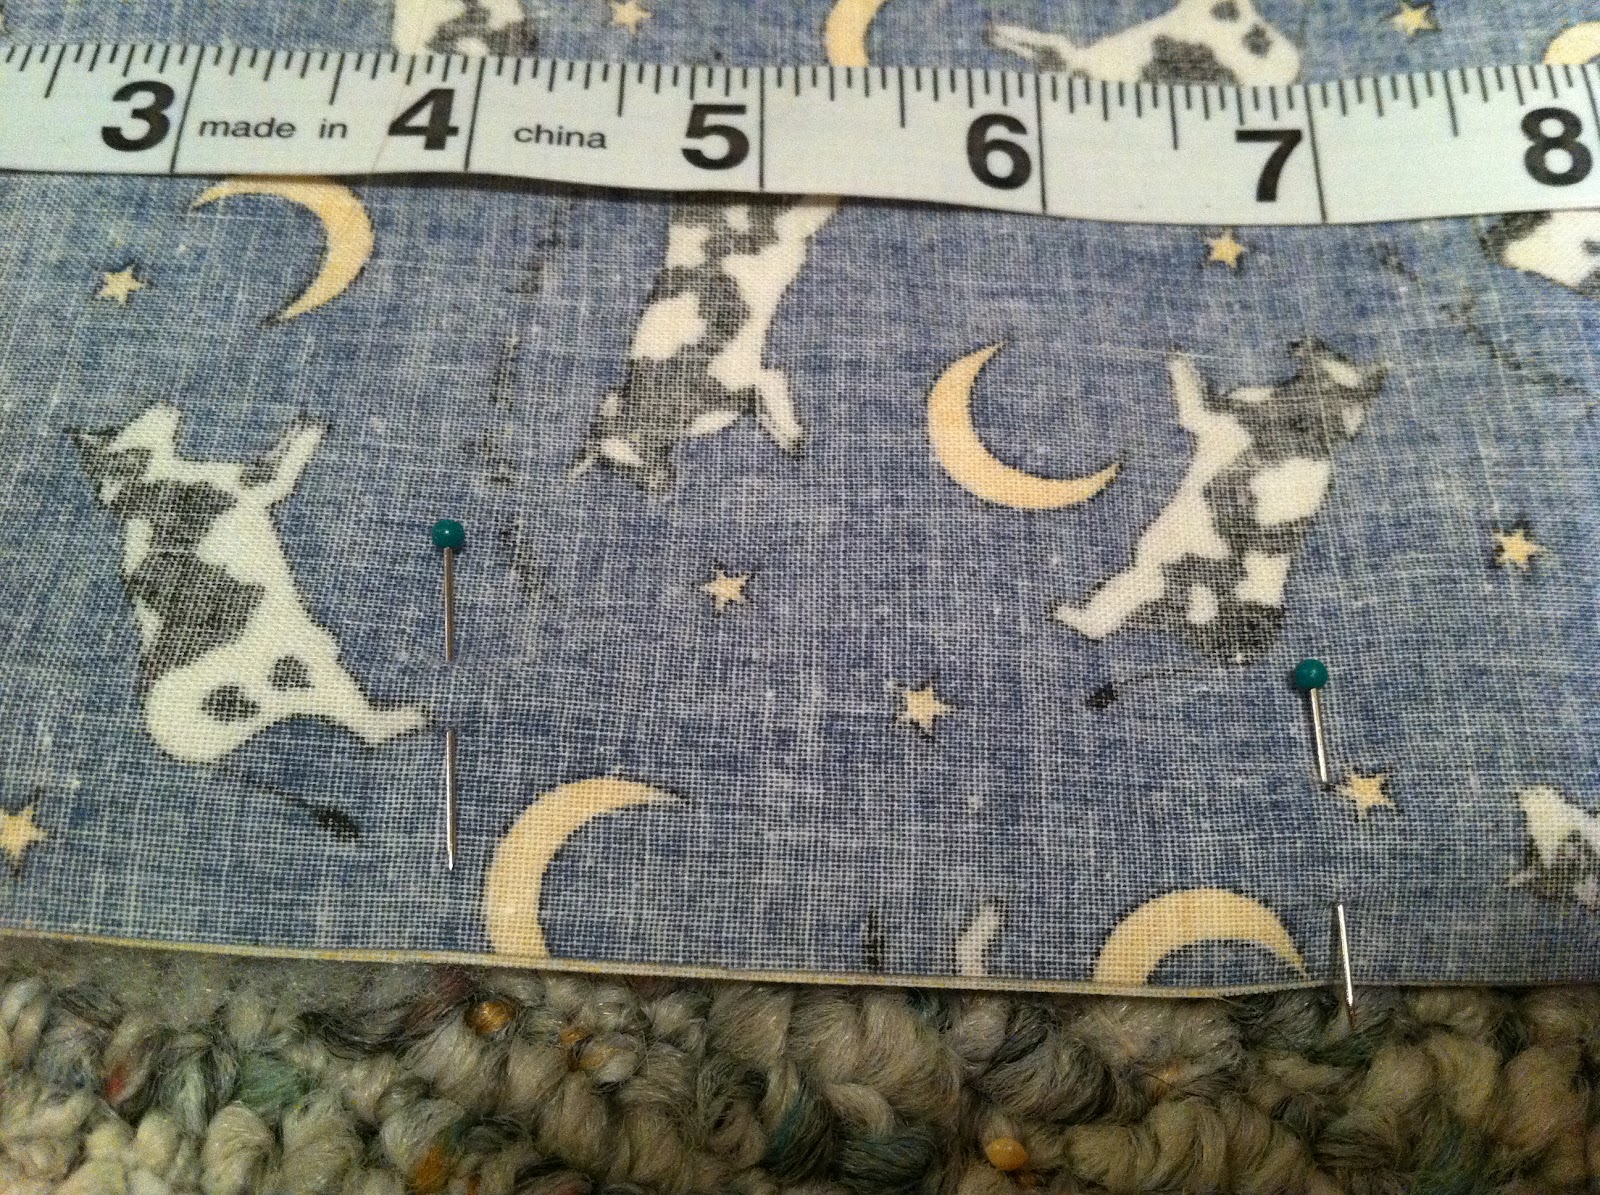
 |
| Here's the fabric I found |
I'll post the instructions from the blog as well as my pictures & comments that go with it. It was so simple to make!
Supplies:
- 1/2 yard outer fabric
- 1/2 yard inner fabric
- 1/2 yard thin batting
- 5 inches velcro
- Thread & pins
How To:
First cut the long strap piece. It should measure 36 x7 inches. The seat should measure 19 by 11 inches. The connecting tab will be 4 inches by 5 1/2 inches.
To cut the fabric, I used my quilting supplies:
 |
| Line up your selvage edges together. |
 |
I also folded the fold side to the selvages to cut 4 layers at once so it would fit on my mat.
|
 |
| Use your straight edge to cut a smooth edge. |
Use your rotary blade to cut the fabrics to the specified sizes. Remember, if you have them folded in half, to cut half the length -- and don't cut the fold off!
 |
| Right sides together, batting on the bottom. |
We’ll sew the connecting tab first. Put right sides together, then batting. Sew the longs sides of the tab using a 5/8 seam. Leave the short sides open. Turn right side out.
 |
| Use a 5/8" seam |
 |
| Turn the fabric right side out |
 |
The middle of the fabric would be 5 1/2".
Make sure the middle of the connecting tab is also lined up! |
Layer the seat pieces with batting on bottom and right sides of fabrics together. Now we’ll measure the opening for the connecting tab, which will go in the middle of a short side of the seat piece. Then pin around the perimeter of the fabric to hold it together while sewing.
 |
| I put the pins the opposite way of the rest of my pins, so I would know where to start and stop. |
 |
You could eye ball it, or find something round, like this plate,
to trace! |
Round off one of the corners. Then, fold your fabric and use the rounded corner as a template for the other corners so they’ll match. Now sew the fabrics together, beginning at one pin and sewing until you reach the other pin.
 |
| Match up your first rounded corner to the others, so they match. |
 |
When ironing, you may want to pull at the seams
as you go, in order to get them flush.
Slip the connecting tab in the opening one inch. |
Remove the pins and turn seat right side out, then iron the seat and connecting tab. Insert one end of the connecting tab an inch into the opening on the seat. Sew the tab in place using a quarter inch seam, and continue topstitching around the perimeter of the seat.
 |
| Hint: you will have 4 1/2" remaining! |
 |
| I reinforced the stitches at the opening. |
Layer the batting and fabrics for the strap piece. On a long side, place a pin 4 inches in from the edge to mark an opening for the tab. The other pin is placed 6 and a half inches in from the edge. Pin the fabrics together. Round off the corners as you did with the seat piece.
 |
| I measured 4 & 6 1/2" from the top left of the outer fabric - but if you are not picky about which direction it wraps or which side is outer/inner, it does not matter. |
Begin sewing at one pin, and continue sewing until you reach the other pin. Remove the pins and turn right side out, then iron.
 |
| All done, except for the velcro! |
Insert the loose end of the connecting tab into the opening on the strap piece. Sew in place using a quarter inch seam, and continue topstitching around the perimeter of the strap.
Now we’ll add the velcro. Sew three inches of rough velcro in the middle, on the long end of the interior fabric. Sew around the edge of the velcro.
Now cut five inches of the fuzzy velcro. This will go in the middle of the short end, on the exterior fabric. Sew in place.
To use, weave the straps around the slats of a chair. Loop the strap around to velcro in back. The seat piece goes inside of the loop and creates a flap over the strap piece.
Always use adult supervision. As with all handmade baby products, use common sense.
I did not have any velcro - or time to get it - but fortunately, my wonderful friend Sallie had some and let me have it. I sewed it on tonight (I actually stitched around it twice to reinforce it), but didn't take pictures.
I'll let you know after this weekend how well it works, but I am very excited for it!
Cost of project: $0

 Use your rotary blade to cut the fabrics to the specified sizes. Remember, if you have them folded in half, to cut half the length -- and don't cut the fold off!